Choose a genuinely comparable garment
Use an item whose current fit you like and which resembles the piece you are considering. A loose cardigan is not a precise reference for a fitted, non-stretch blouse. Fabric, cut and desired room for movement should be similar enough for the comparison to answer a specific question.
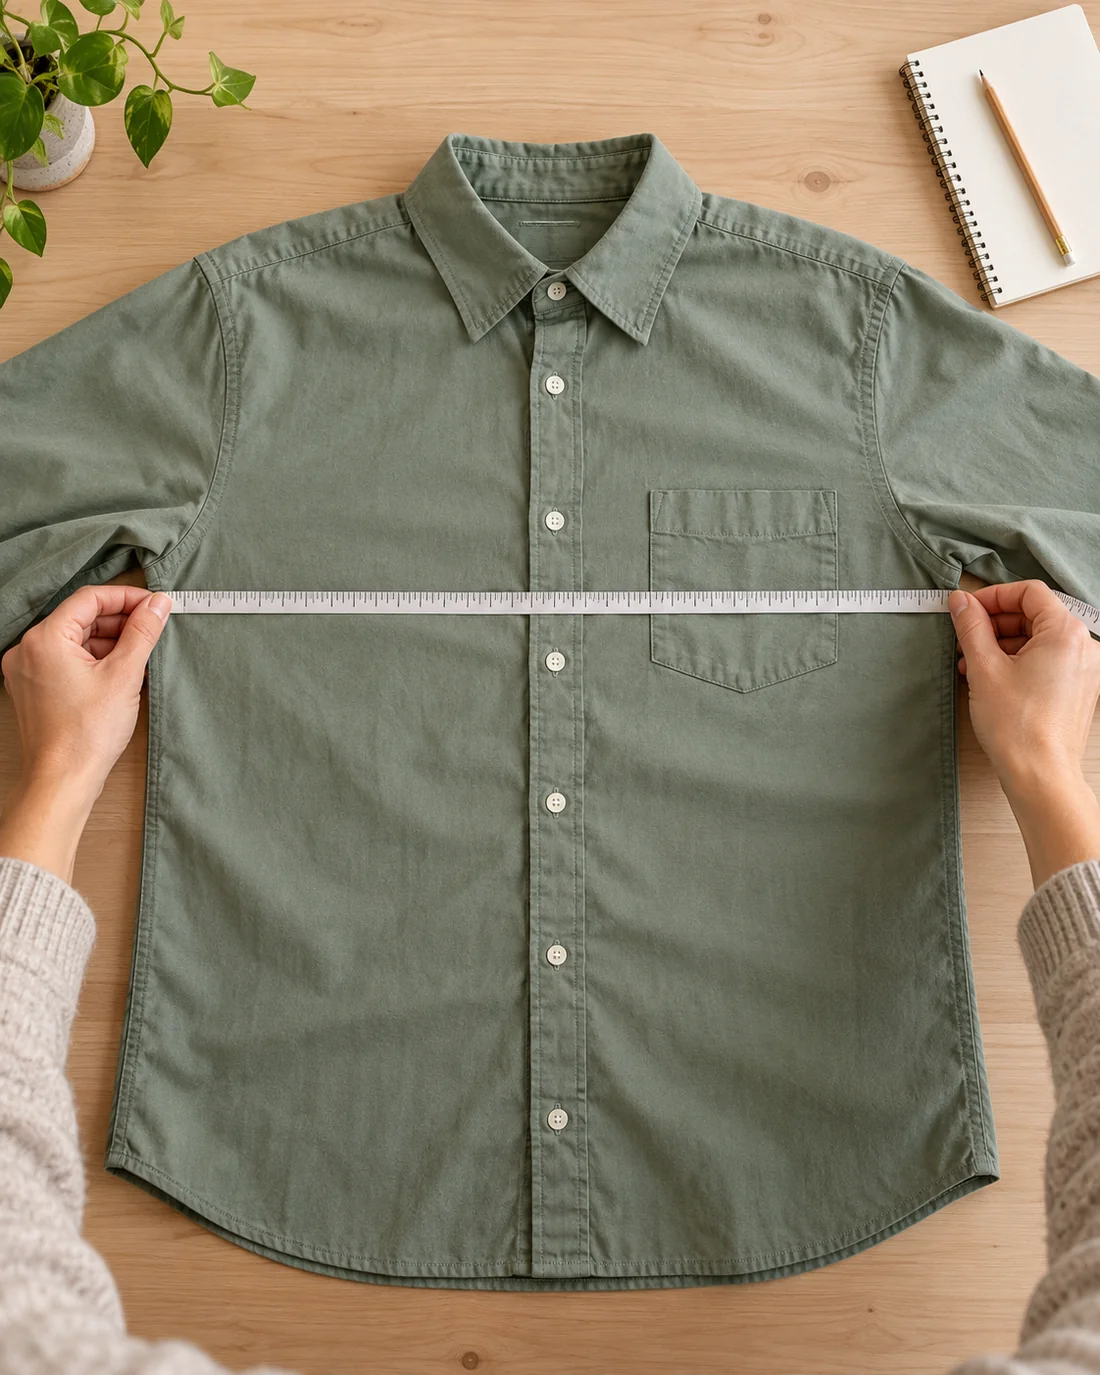
Lay the item neatly on a level surface and close the intended buttons or zip. Smooth the fabric gently without stretching it. Pulling changes the result substantially with knitwear and elastic waistbands. Record whether you measured in the relaxed state. A stretched favourite may not be a reliable reference for a new, more structured fabric.
Name the measuring points clearly
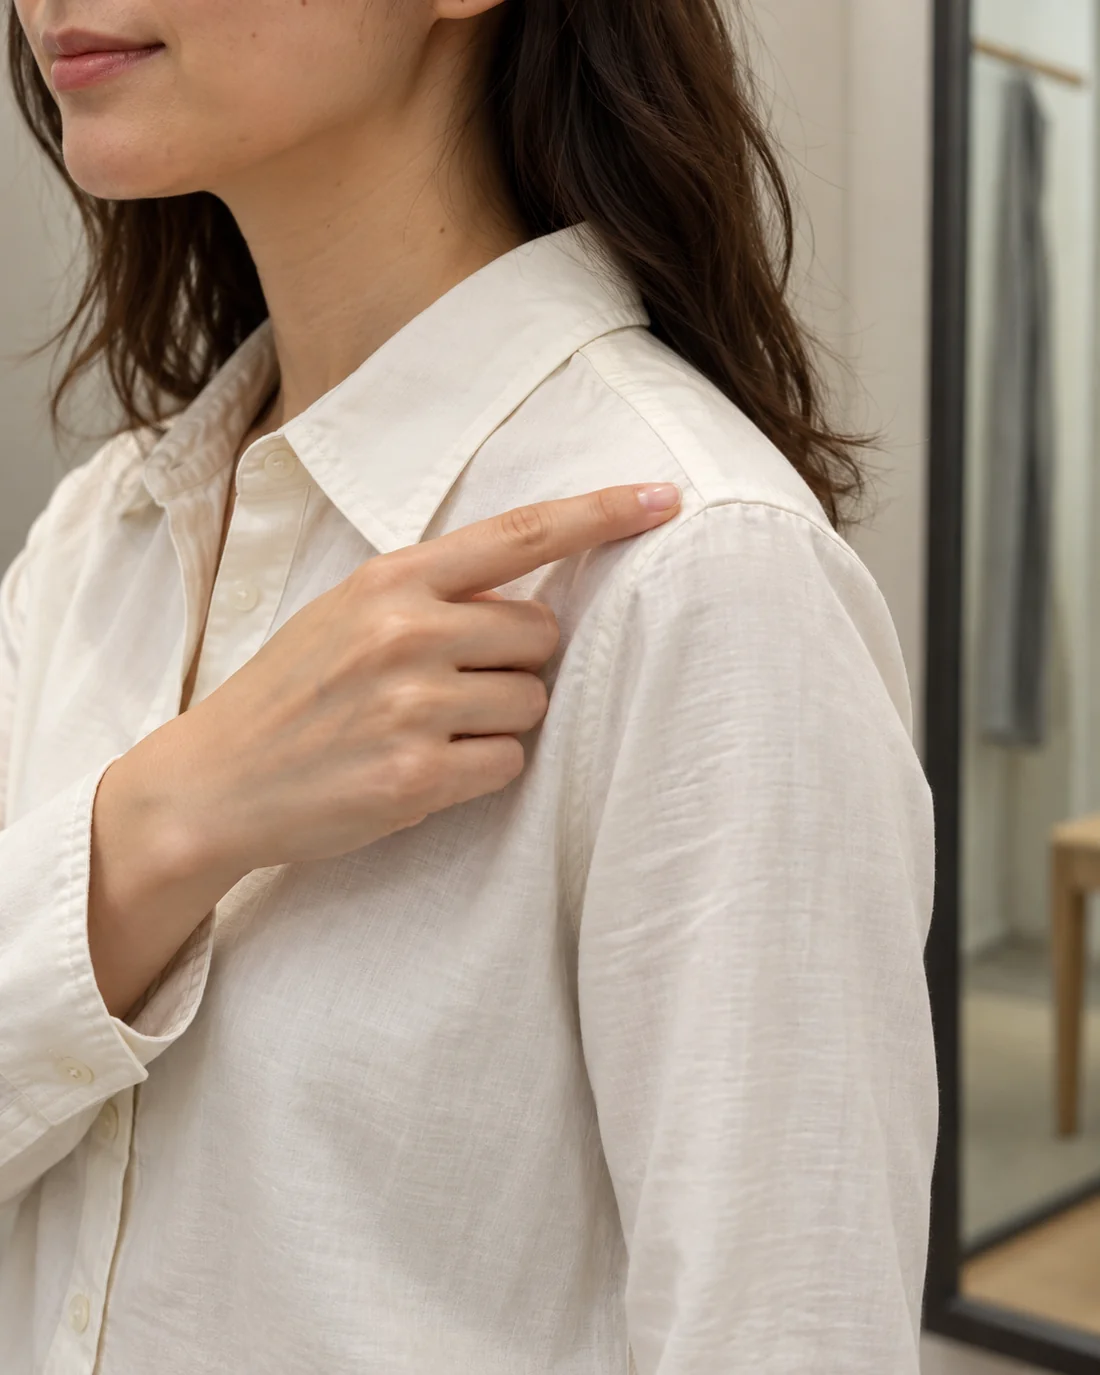
For a top, chest width, back length and sleeve length may help. Record the start and end points for each. A sleeve measured from the shoulder seam cannot be compared directly with one measured from the centre of the neck. On a dropped shoulder, looking separately at shoulder width and sleeve length may also give a different picture from a set-in sleeve.
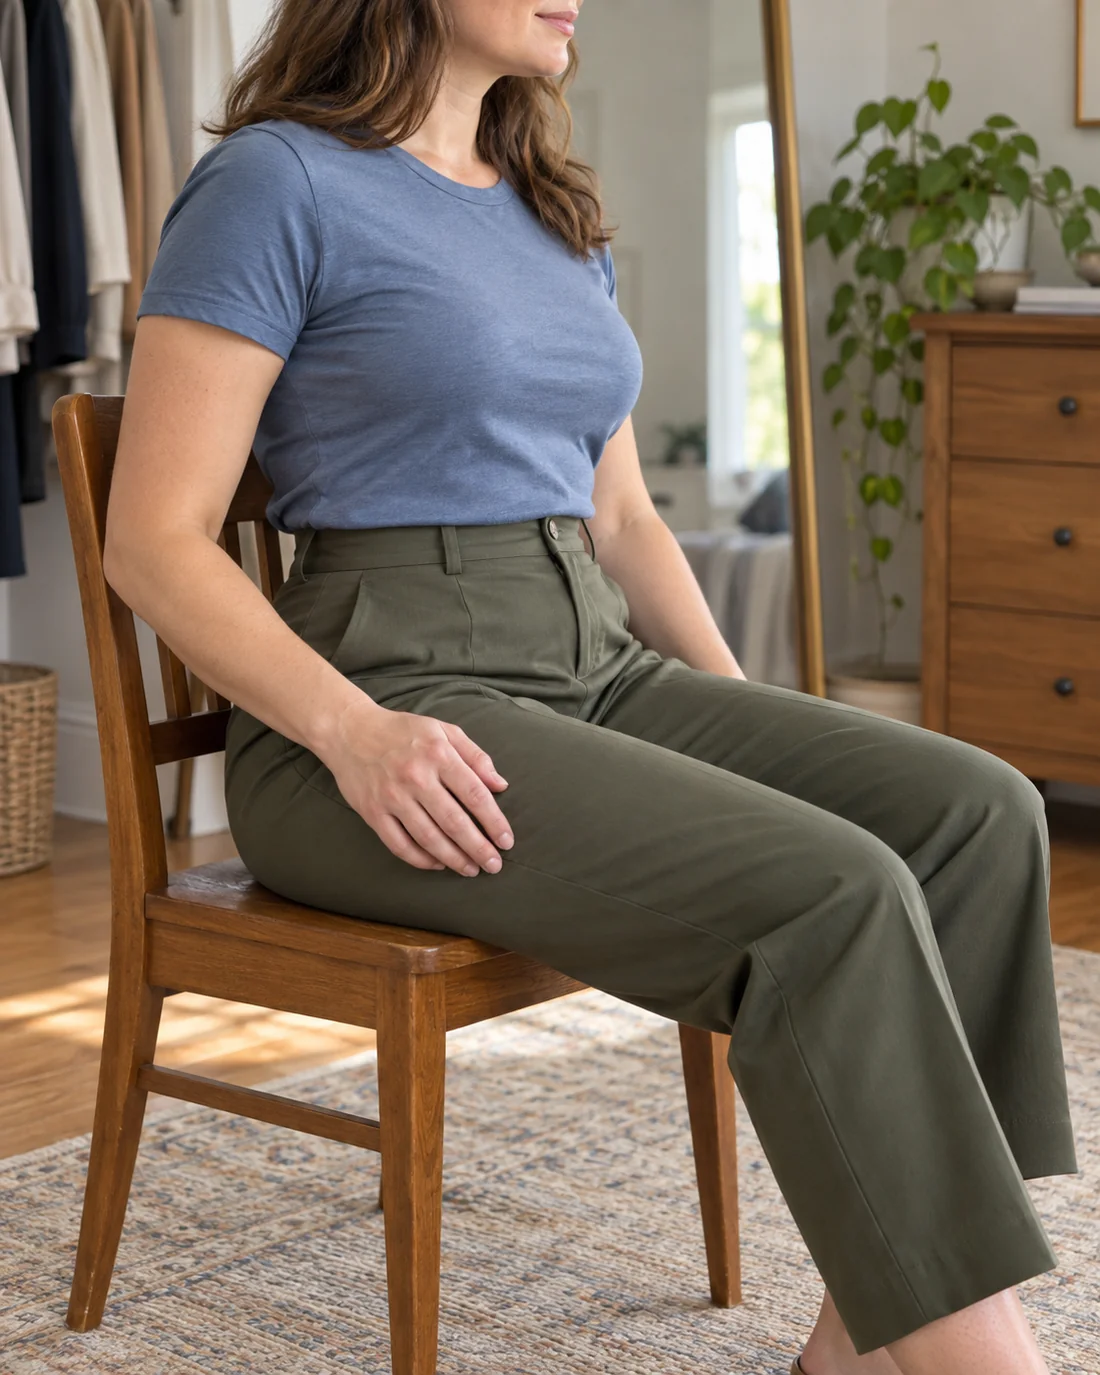
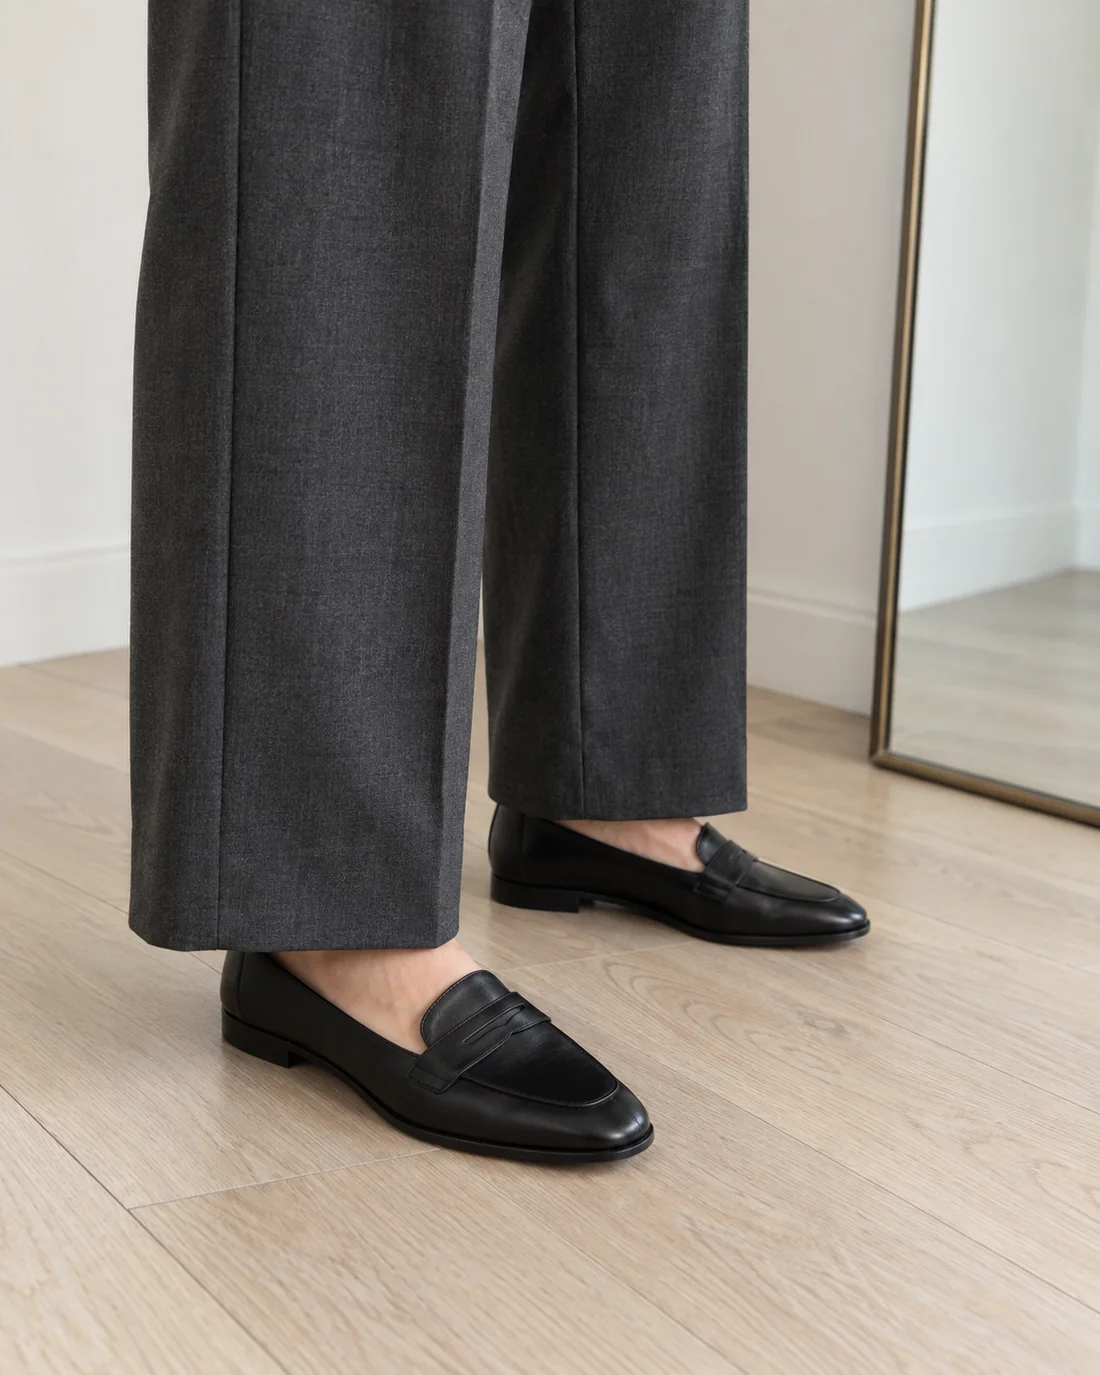
For trousers, waistband width, inside-leg length and sometimes rise can be useful. Align the waistband layers neatly where construction allows this without distortion. Measure inside-leg length along the relevant seam rather than diagonally across the leg. Curved seams and elastic waistbands make a clear note of the method especially valuable.
A simple photograph with the tape in place can document the location. Keep the tape flat and its starting point visible. Use the image as a reminder rather than attempting to calculate measurements from a potentially distorted photograph. Write the value you read from the tape separately.
Distinguish garment measurements from body measurements
Check whether the retailer supplies finished-garment dimensions or a body-size chart. A body circumference does not include the garment's intended extra room. A flat width is not automatically a complete circumference either, especially with shaped or elastic pieces. Follow the supplier's explanation rather than doubling or subtracting numbers without context.
If the measuring points are not explained, ask a specific question. “Where does the sleeve measurement start?” is easier to answer than “Does this run large?”. Compare only values whose method is clear. An apparent difference may come from different starting points rather than from a meaningful difference in fit.
Recognise what measurements cannot show
Two garments with similar chest widths may feel different because of armhole shape, back width or fabric stiffness. Lining and pockets affect fit too. Measurements help rule out obviously unsuitable options, but do not replace trying a garment through movement. A detail such as neckline shape cannot be represented fully by one width.
Add a short sentence about the reference garment's use, such as “comfortable over a thin T-shirt, sleeves work without folding”. That complements the numbers. Avoid labels such as “my perfect size”, which may stop being useful with the next fabric or cut.
Keep a small, current reference
Documenting a few frequently used comparison pieces is enough. Update the values if wear or care changes their shape noticeably, or if the fit you prefer changes. Three clearly described current examples are more useful than a long list of ambiguous old measurements.
Store the notes so you can identify the garment while shopping. A model name, material and photograph often provide enough context. This makes the size comparison understandable without turning clothing measurements into fixed rules for your body. It also gives you a consistent starting point when a retailer provides enough detail to make a comparison meaningful.