Separate the problem from the next action
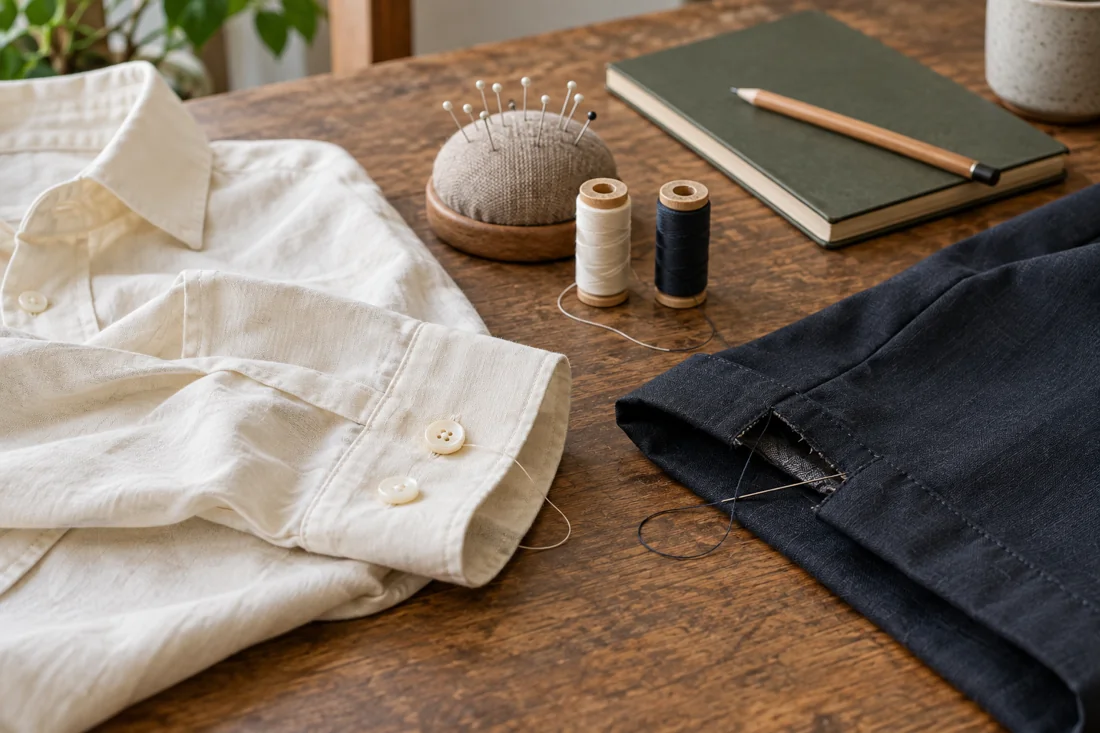
Record the garment and visible location first: a loose button on the left cuff or a detached hem on one side, for example. Avoid writing only “broken”. A clear description helps you or a professional assess what is involved. A photograph can show the area but does not replace inspecting the actual garment where damage is unclear.
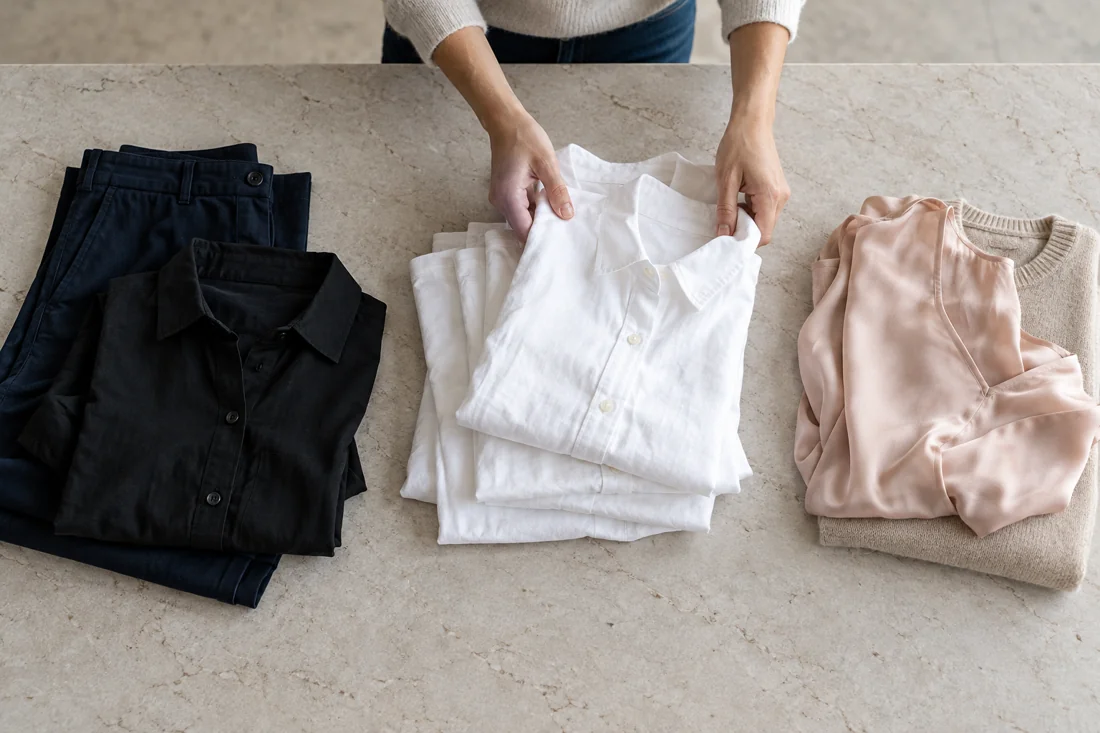
Then add the next step: examine it yourself, find a matching replacement or ask an alterations service. If you do not know how to carry out the repair, the list does not need a complete method. Its purpose includes showing where a decision is still needed. Keep these pieces separate from ready-to-wear clothing so the problem does not surprise you again each time you get dressed.
Match materials to the right garment
Store spare buttons or removed components with a clear identifier. A small labelled bag is more useful than several loose, similar buttons in a drawer. Keep sharp tools separate and safely stored rather than unprotected among clothes.
Check whether the proposed work meets an earlier repair. Previously changed seams or damaged fabric can affect the task. Before unpicking or cutting anything, establish what work is intended. A small visible fault is not automatically a simple repair.
Prioritise by future use
Begin with something you would wear often after a manageable repair. A garment unused for years does not have to come first simply because it sits on top of the pile. If the effort and likely use do not justify each other, record that decision too.
After completing the work, note what was done and gently check the repaired area in its intended use. Only then return the garment to the ready-to-wear selection. A short list containing completed tasks is more useful than an extensive collection in which every item remains permanently marked “someday”.